The Seven Bridge Problem
After Zhanguo: First Empire and Shackleton Base I was ready for the next big heavy euro bomb from SorryWeAreFrench, so when Kingdom Crossing was announced as the next main title, I wasn't sure what to expect. At least it seemed like a lighter game - and while it is indeed lighter than the aforementioned two games, I'm pleased to report that there is meat on the bones here. Lots of meat! It also helps that I adore the anthropomorphic animal theme in every game.
TL;DR
As with every euro, the action selection is what sets the game apart. Basically each turn you pick an action tile to walk across either 1, 2 or 3 bridges and get a card from where you arrive, but there is a big constraint: you may cross each bridge only once in a round, so with each choice you restrict your future options. Which cards to get for their instant rewards, income effect and end game scoring is a constant and satisfying dilemma. All in all, it’s a much thinkier game than I expected, one where you’re kind of building your own scoring engine as you play.
The Seven Bridges
To begin exploring the inner workings of Kingdom Crossing, let’s first take a look at the game board. This depicts 4 different areas, which are home to 2-3 small decks of cards each. You will acquire these cards and use them to build your tableau during the game. The 4 areas are connected by 7 bridges, which are the main focus of the game. You see, due to the political landscape of this tranquil animal kingdom, you are only ever allowed to walk across each bridge once in a round. This is also the reason for the thematic goal of the game: building an 8th bridge, so the Queen can divide her time evenly across all the regions and their inhabitants, ensuring peace.
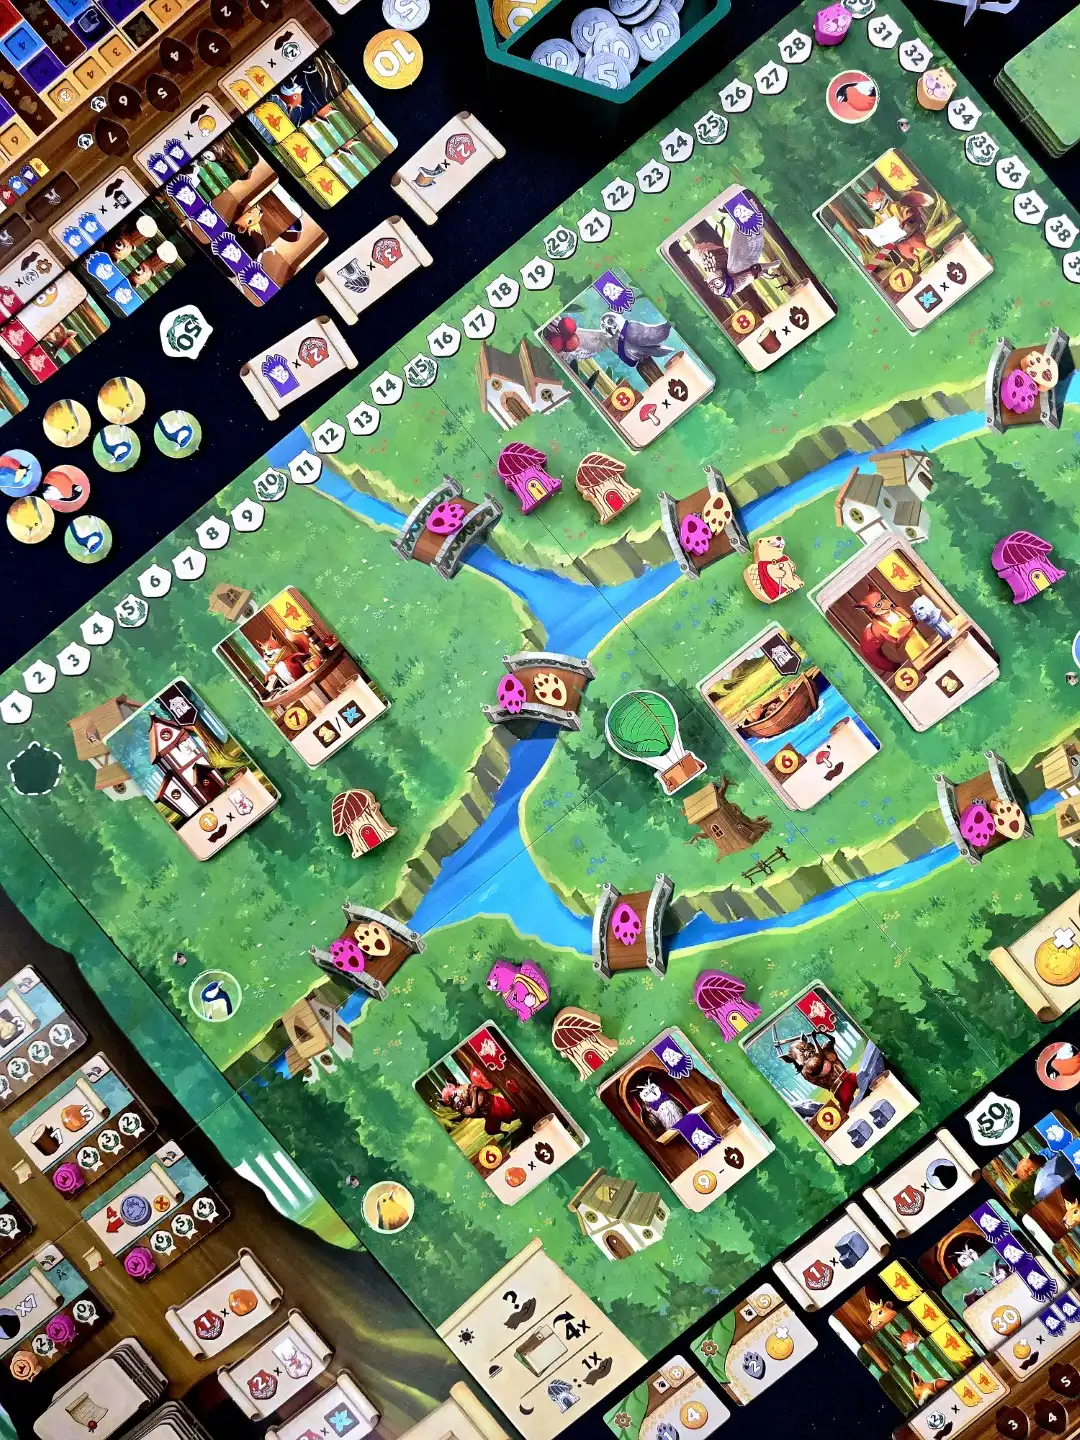

Left: The game board's 4 areas connected by 7 bridges ; Right: You Paw tokens mark bridges you already walked through
The Action Selection
As with most euros, the action selection sets the game apart from others. Here it is quite simple in principle: each turn you pick 1 out of your 6 action tiles and either Rest to earn some money, or move across the exact number of bridges your tile says, and buy a card from where you end your movement. In each round you only use 4 of your tiles. It sounds simple, but as you can only cross each bridge once, your options quickly start to run out. Also you only have one 2-move and one 3-move action tile, so what cards you can reach is strongly constrained. It can get quite analysis-paralysis inducing, especially during your first games when you start to grasp how things work.
Each time you go across a bridge you mark it with a Paw token, so you know where you were already. A smart design choice is that the game rewards you for placing your 6th or 7th (final) Paw token, so it is worth it to risk running out of options fast, to earn those points. Because the areas are linked up in a certain manner, the only way to place the 7th Paw token is by using the Balloon to “teleport” - it is cheaper to use if you are in the same area as it is, or you can call it to you for more money. Trying to save on the ever important money by planning to be near the Balloon is another little puzzle inside the puzzle (which is made harder by the fact that someone else could use it and move it away).
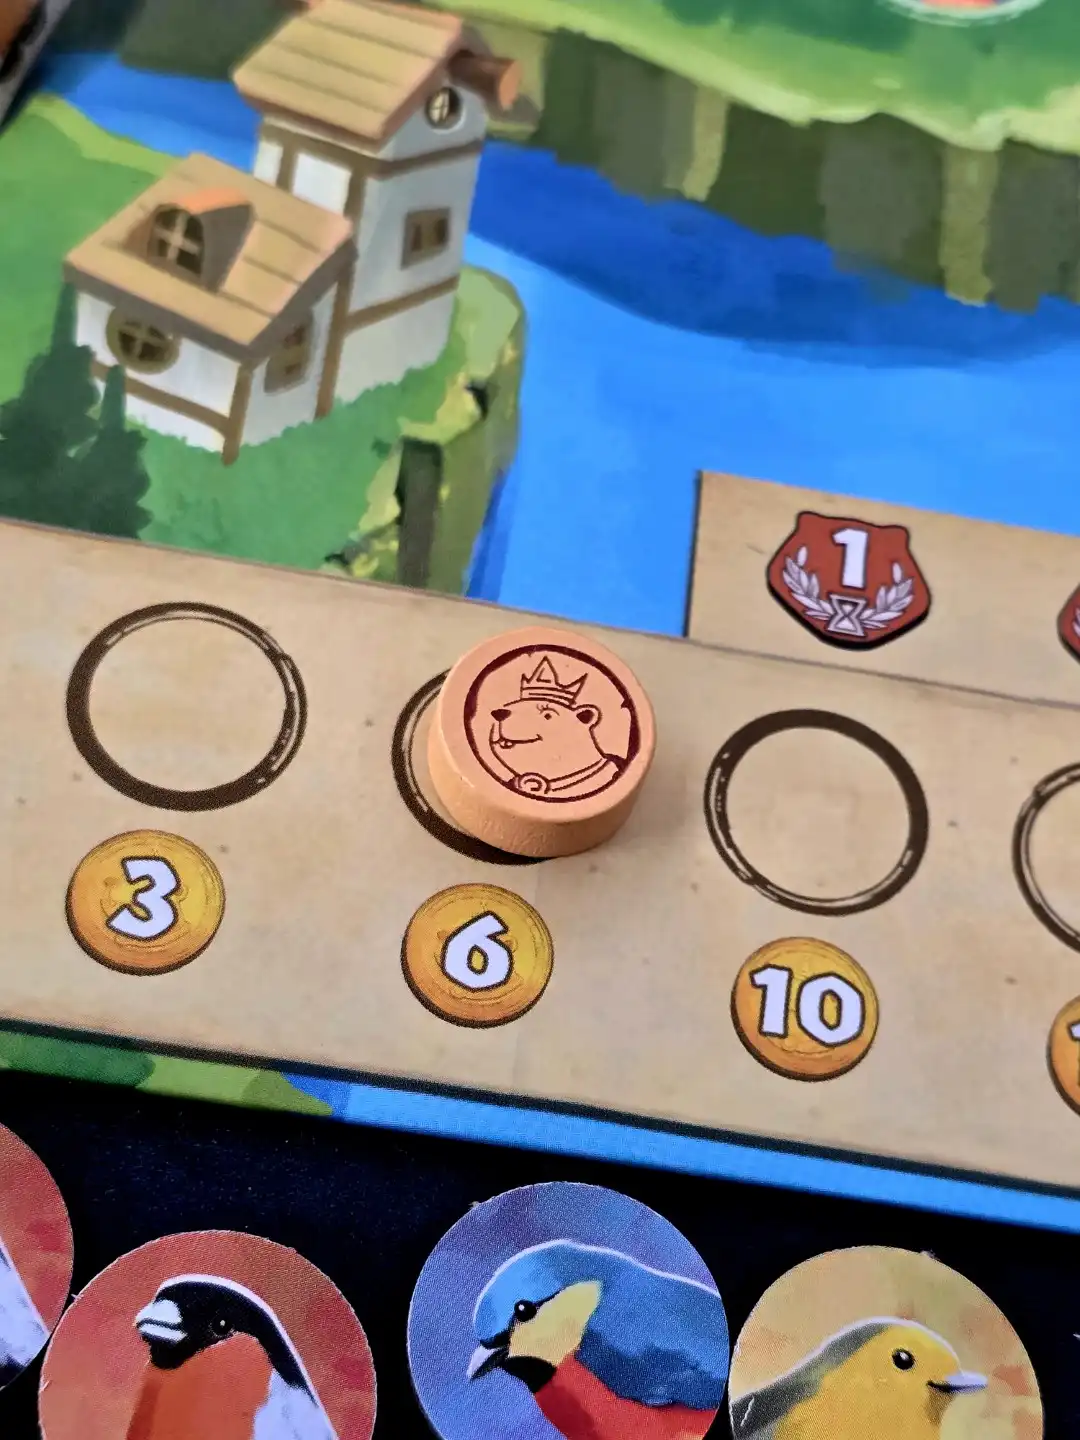
One final twist for this movement puzzle is that if you are at one of your little houses at the end of the round, you get an additional income activation. Just another thing to keep in mind as you plan your path each turn.
The Cards
But where do you want to go on any given turn and why? Well, to get specific cards. Cards have multiple interesting aspects.
They all belong to 1 of 5 guilds: Fox, Owl, Bear, Boar or Deer. You want to have pairs of the same guild, because each pair increases your beginning-of-round income in a different way, but you also want to have one of each guild to unlock another house (then two of each for the last house) you can place out to the map - making it easier to trigger that extra income I mentioned above.
Cards also have an immediate effect, depending on which deck they are from.
There are the Lumberjacks, Stone cutters, Extractors and Farmers, who just give you one of the resource types that are needed to construct the eighth bridge - interestingly, these resources aren’t tracked as tokens or spent for anything, instead they’re four different tracks you advance on.
There are the Sculptors and Florists who give you decoration tiles that go on the resource tracks.
The Sponsors give you coins, which you always need.
There are two different Structure decks that just give extra income
Finally, there are the Peddlers, who have various rewards.
These cards could provide flat bonuses like 1-3 resources, but many of them scale with the amount of Paw tokens you have already placed in the current round, and this immensely raises the fun of the central movement puzzle. Some cards are worth more with less bridges visited, and some work the other way around. This is another place where player interaction comes into play: you can't endlessly set up for a card, as someone might grab it sooner.
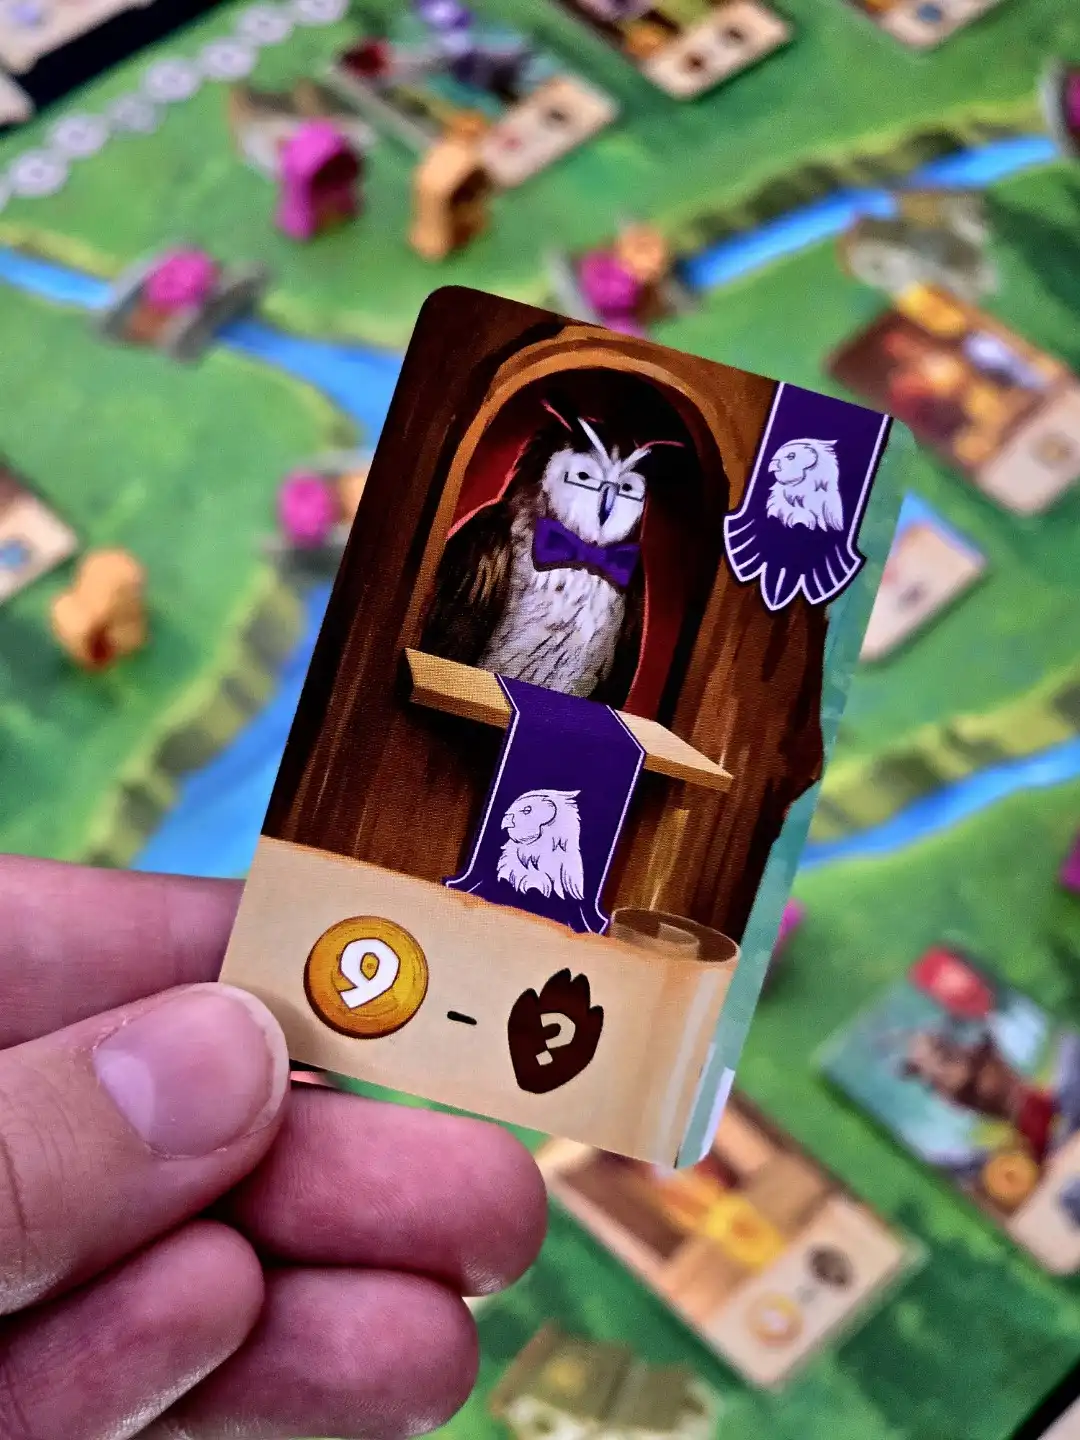
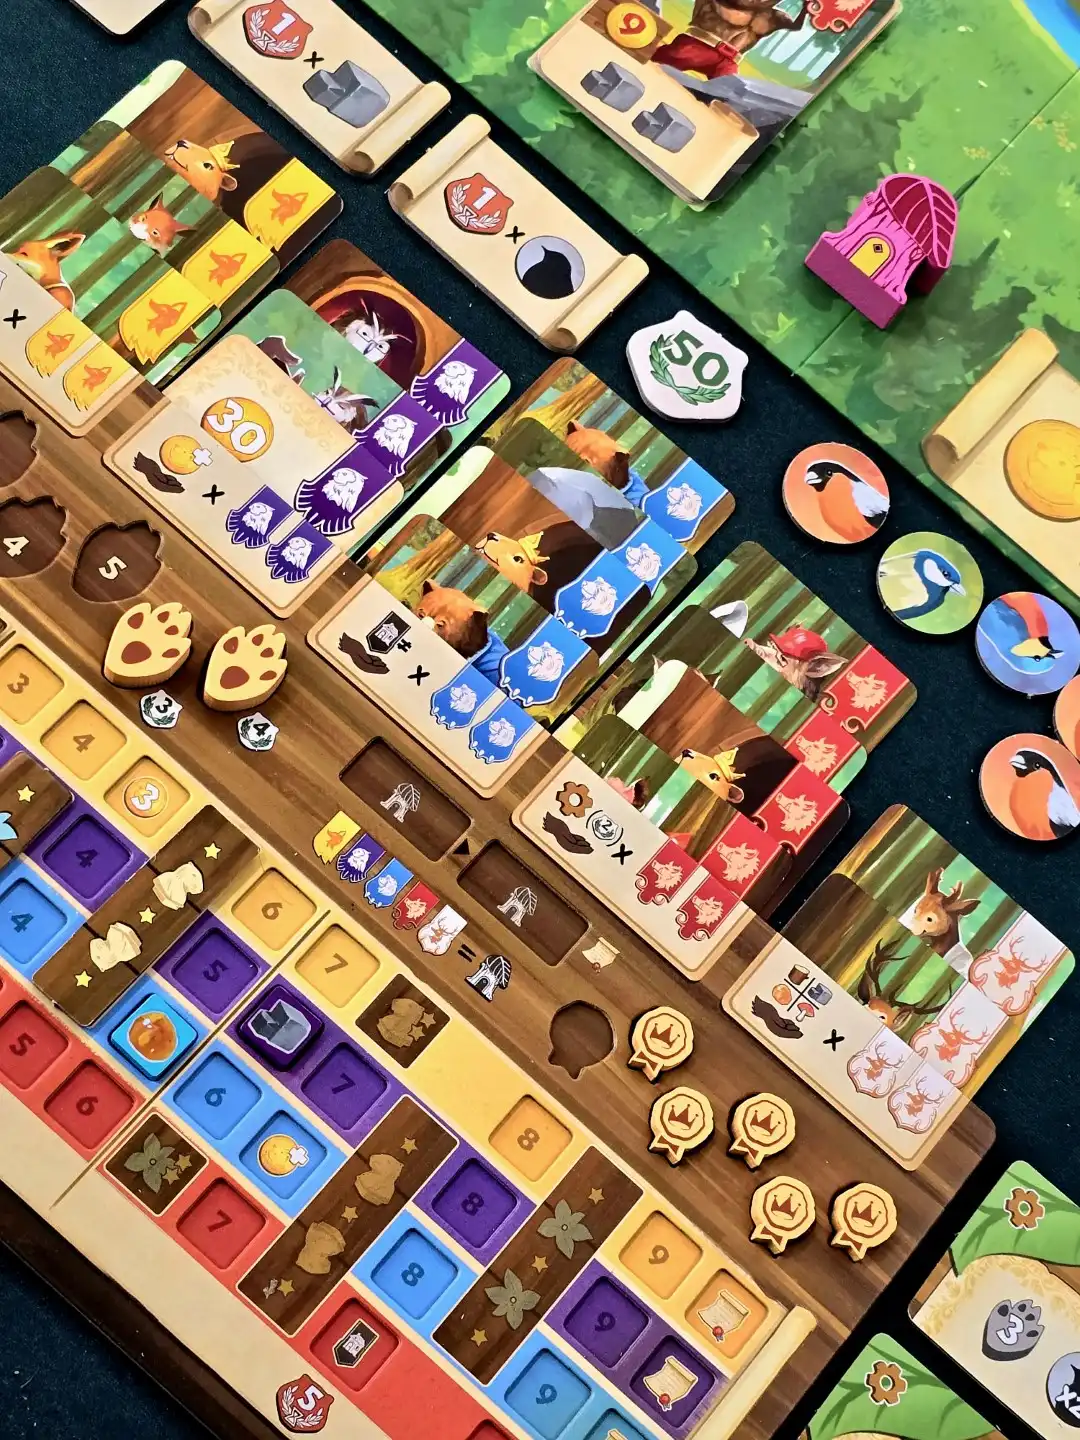
Left: This owl Sponsor gives you gold depending on how many bridges you crossed ; Right: A player board with the different tracks, and cards tucked behind it
Finally, cards are also scored at the end of the game, which is another aspect to think about during play. You need to both place decoration tiles on the resource track, and advance over those tiles with your resource counter to raise the scoring of the specific guilds. E.g. the Wood track improves the Fox guild scoring. So you want to have the most cards from the guild that scores the best, but it is not that easy in practice to really focus in on specific scoring combos. You often have to go with the flow of the available cards, and make the best choices as they come.
Resource management
The only real resource you are managing are your coins. Other than Sponsors and some Structures, every card costs coins, so you are always short on them. If you cannot buy anything on a given turn, then you have to Rest instead of moving, which just uses up one of your action tiles for the round and gives you coins according to its value.
There is also an Invest track on the main board: Some effects don’t just simply give you money, instead let you do an invest action, which means either going up the track, or cashing out and resetting back to zero. This is quite a simple addition, but it introduces an extra little decision to make.
I guess I wouldn’t call your action tiles resources, but they are gone after use until the next round, so you have to manage them. There are also effects that let you upgrade them, which improves both their ability, and the amount of coins they give when Resting. I won’t list these additional effects, just mention that this means you don’t just choose how much to move, but which effect to activate or what to upgrade, again widening the decision space a bit.
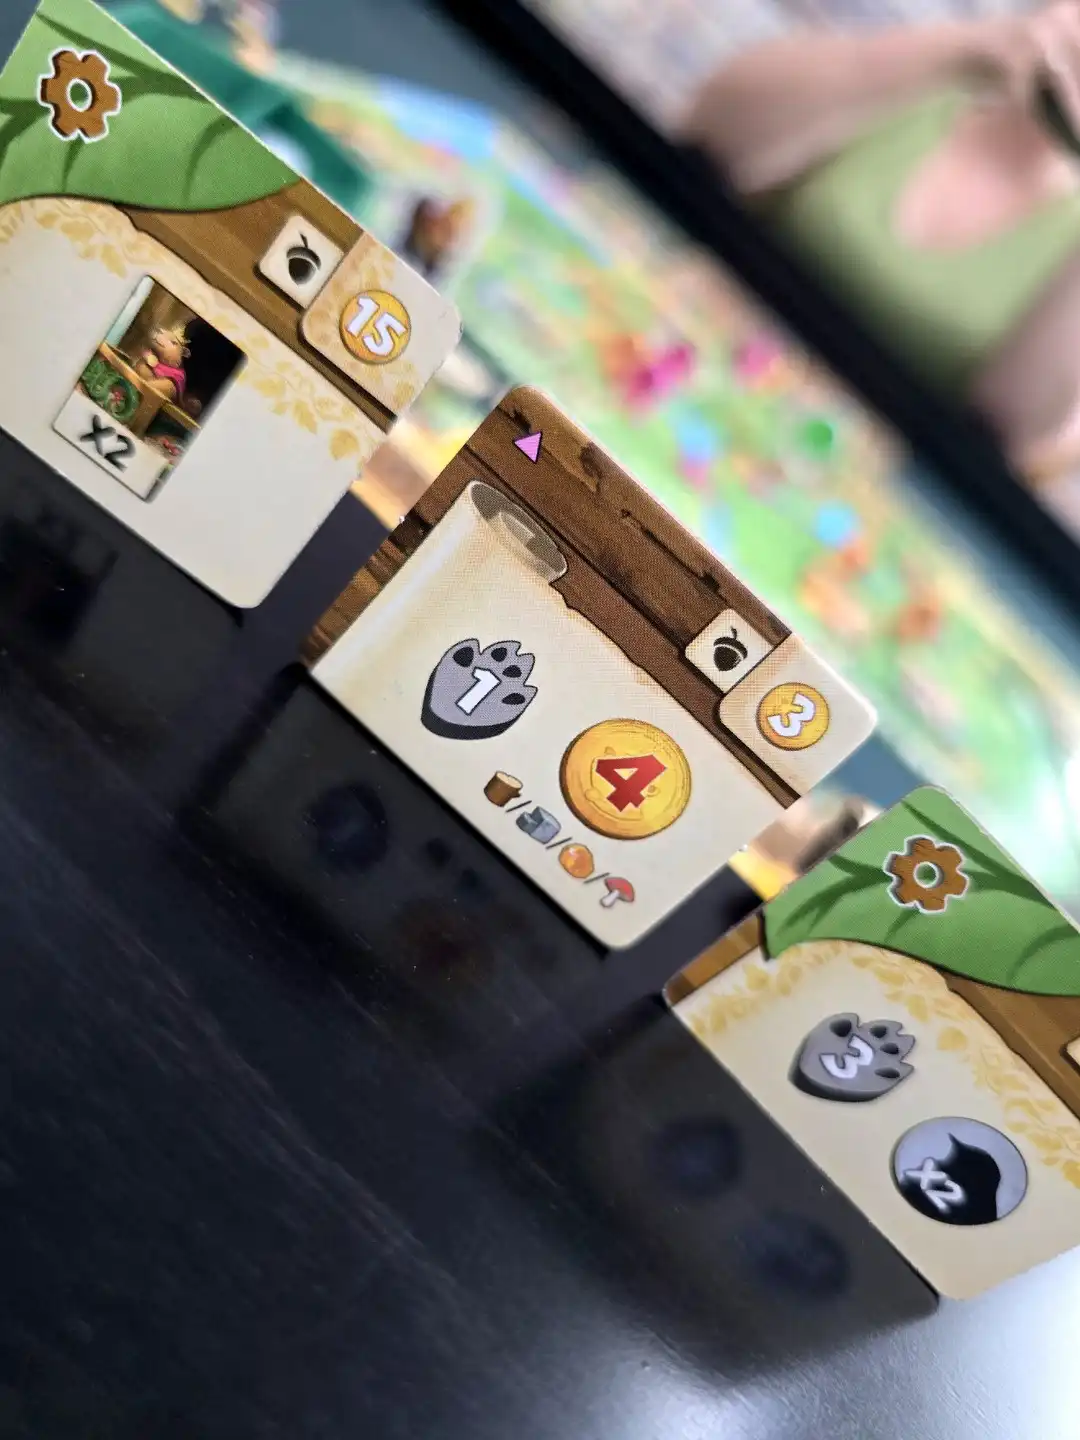
Left: Action tiles also have special effects in addition to movement ; Right: The Invest track is a good way of earning a bunch of coins
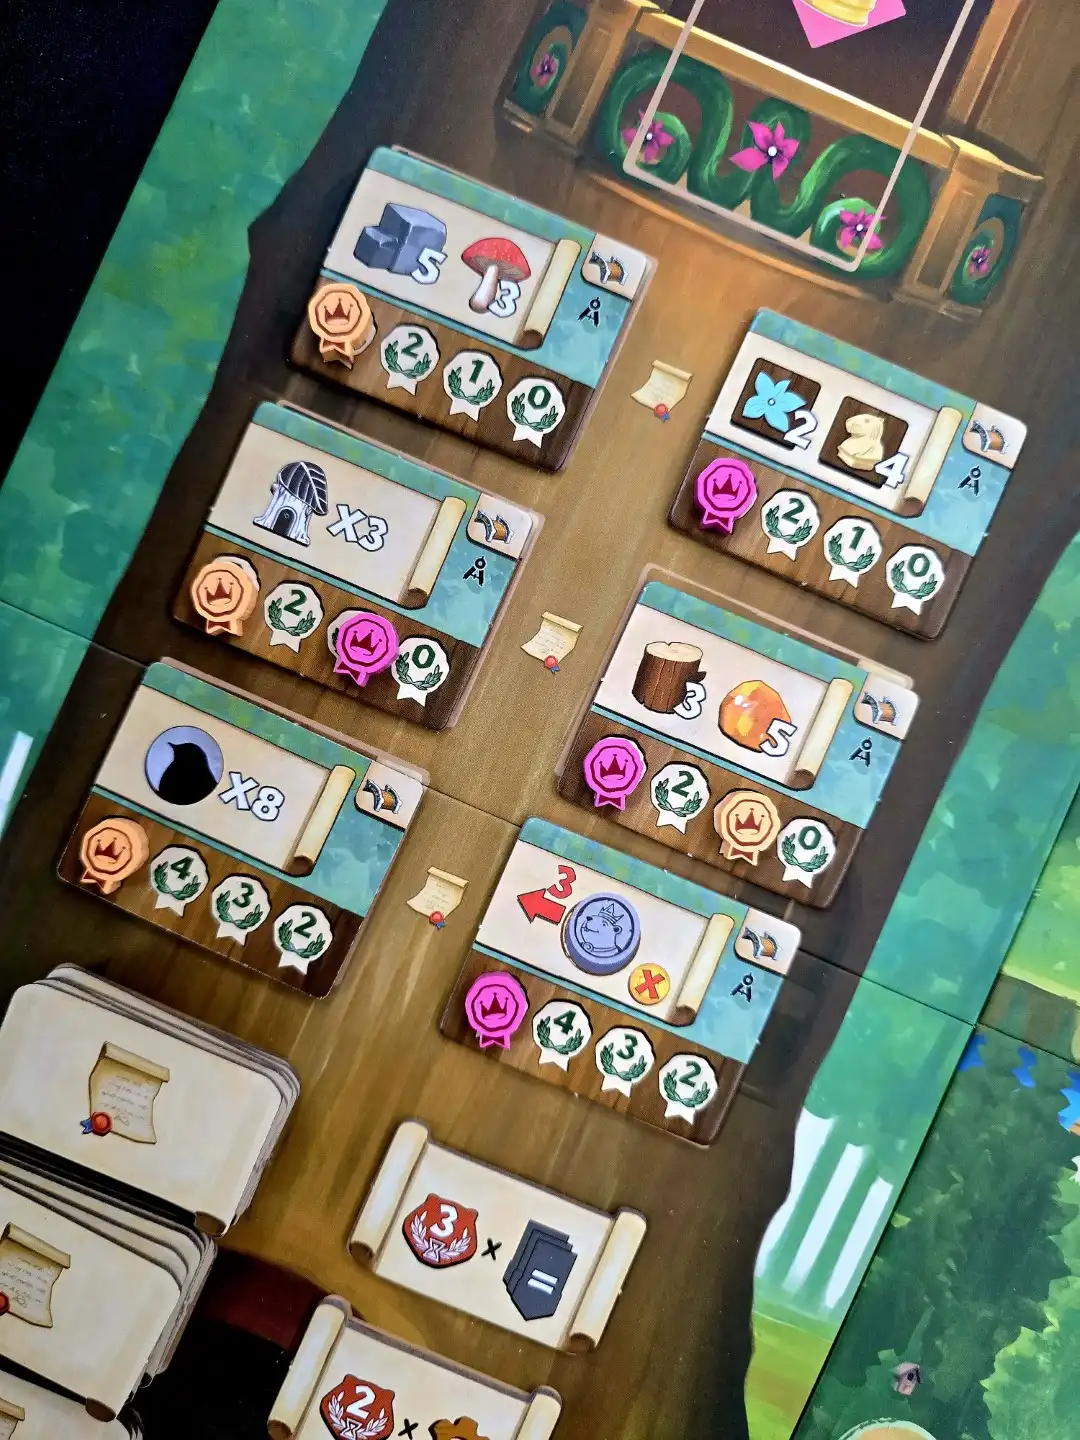
Scoring
During the game you can collect some victory points by placing your 6th and 7th Paw tokens on bridges like I mentioned, or there are also income effects that score points. Additionally there are public goals you are racing for - whoever claims them sooner gets more points.
The game ends after 4 rounds, and end game scoring adds a big chunk of additional points.
First you score your cards according to your decorations and track progress as I’ve explained above, but there is one more big source for points: the Favor of the Queen tiles! Each tile has a different scoring condition, and you can get multiple tiles during the game, so you basically get to somewhat “configure” your scoring engine. You start the game with one such Favor tile, but can get more by maxing out resource tracks, by placing both your houses, or by completing both public objectives in a row. Obviously you want to claim as many Favor tiles as you can.
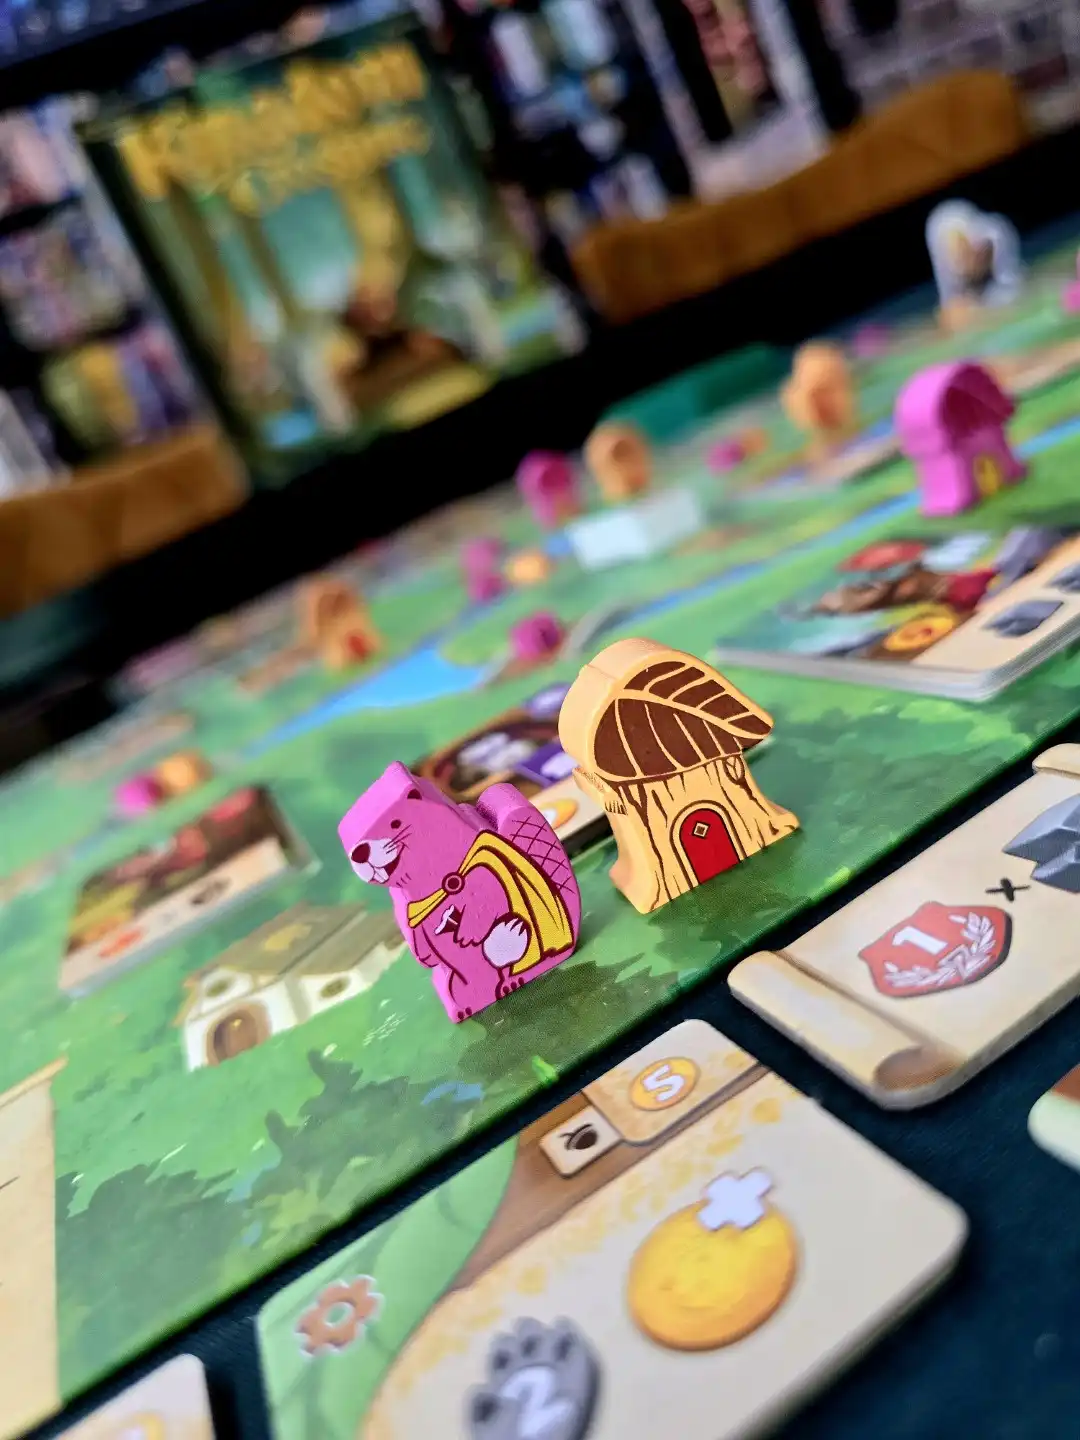
Left: The display of public goals and Favor tiles ; Right: The multi-color screen printed meeples look awesome!
Closing thoughts
Player interaction comes only from public objectives or drafting things away - be it cards on the board or favor tiles - but it feels substantial. If a card is taken, a new one is flipped up from the same deck, but it might not be as good for your current strategy, or the guild might not match what you wanted, etc. The Balloon is also something that can ruin plans when moved. Oh and one thing I haven’t mentioned are Bird tokens: at the beginning of the rounds these bonus tokens are placed on cards, and whoever buys from a deck first gets to claim the bonus - one more aspect to take into account when choosing cards and paths.
I am certainly happy that bridge movement isn’t influenced by other players (meaning that everyone can cross every bridge once), because that is already restrictive enough and difficult to plan.
We mostly play games at 2-players, and think Kingdom Crossing works well at this player count. There is no big modification, only that you claim 1st and 3rd place points on objectives, and that Bird tokens for 3-4 players are discarded, so there are less bonuses to go around. The decks of cards may cycle slower this way, which could be taken as a con if you think the display of cards gets stale, or as a pro because cards are taken less often so you can plan better.
Even though the game’s cover and theme hints at a light gateway game, with all these little nuances I think the game reaches a fun mid-weight level. The rules are very clear, and I think you could easily explain it all in 10-15 minutes, yet making decisions each turn is often challenging (and for us sometimes analysis paralysis inducing). Planning your movement takes a few rounds to really understand, and I think it remains a lot of fun. The game is engaging throughout and relatively fast for a euro.
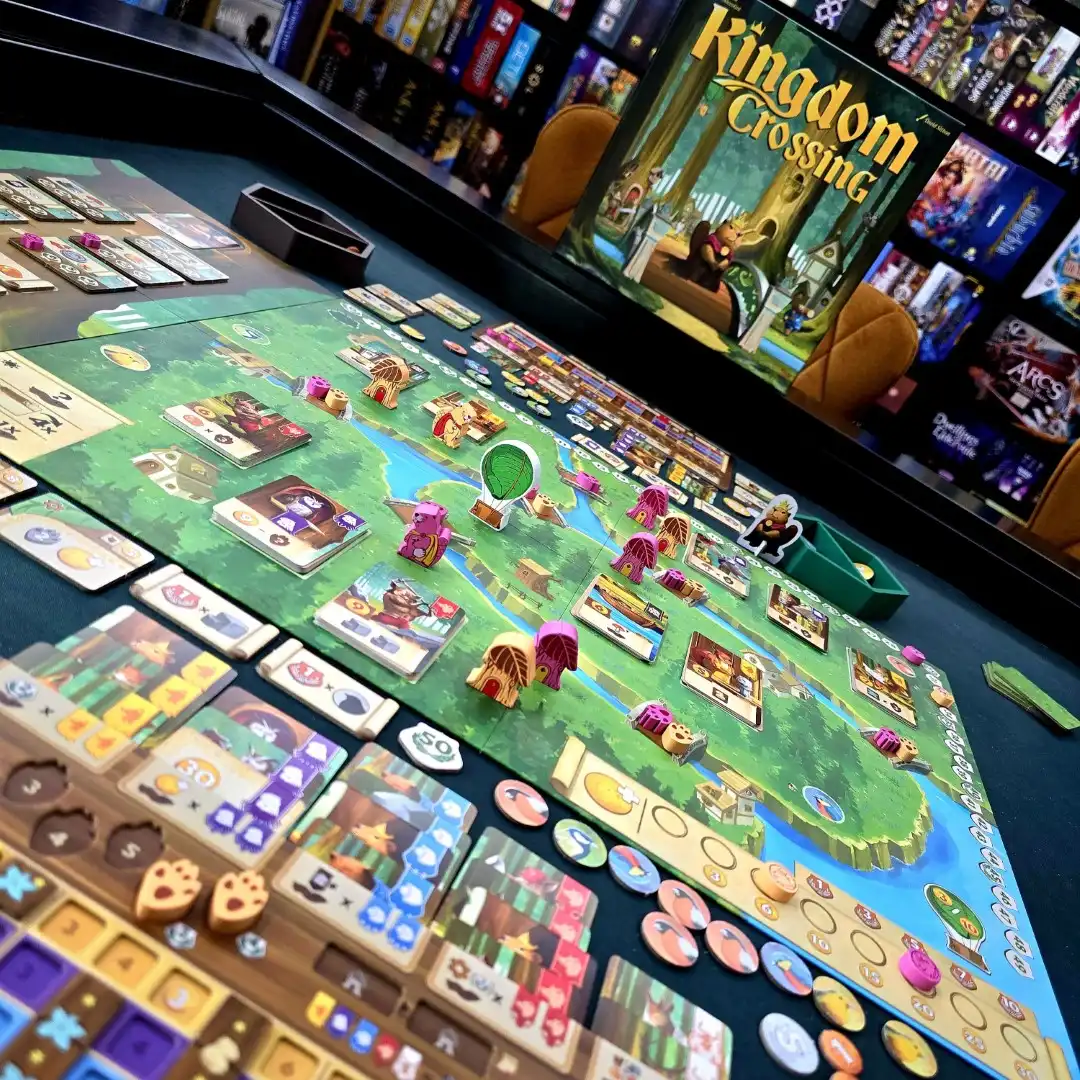
The components and table presence are also superb. Cute illustrations, double layered player boards and beautiful screen printed meeples.

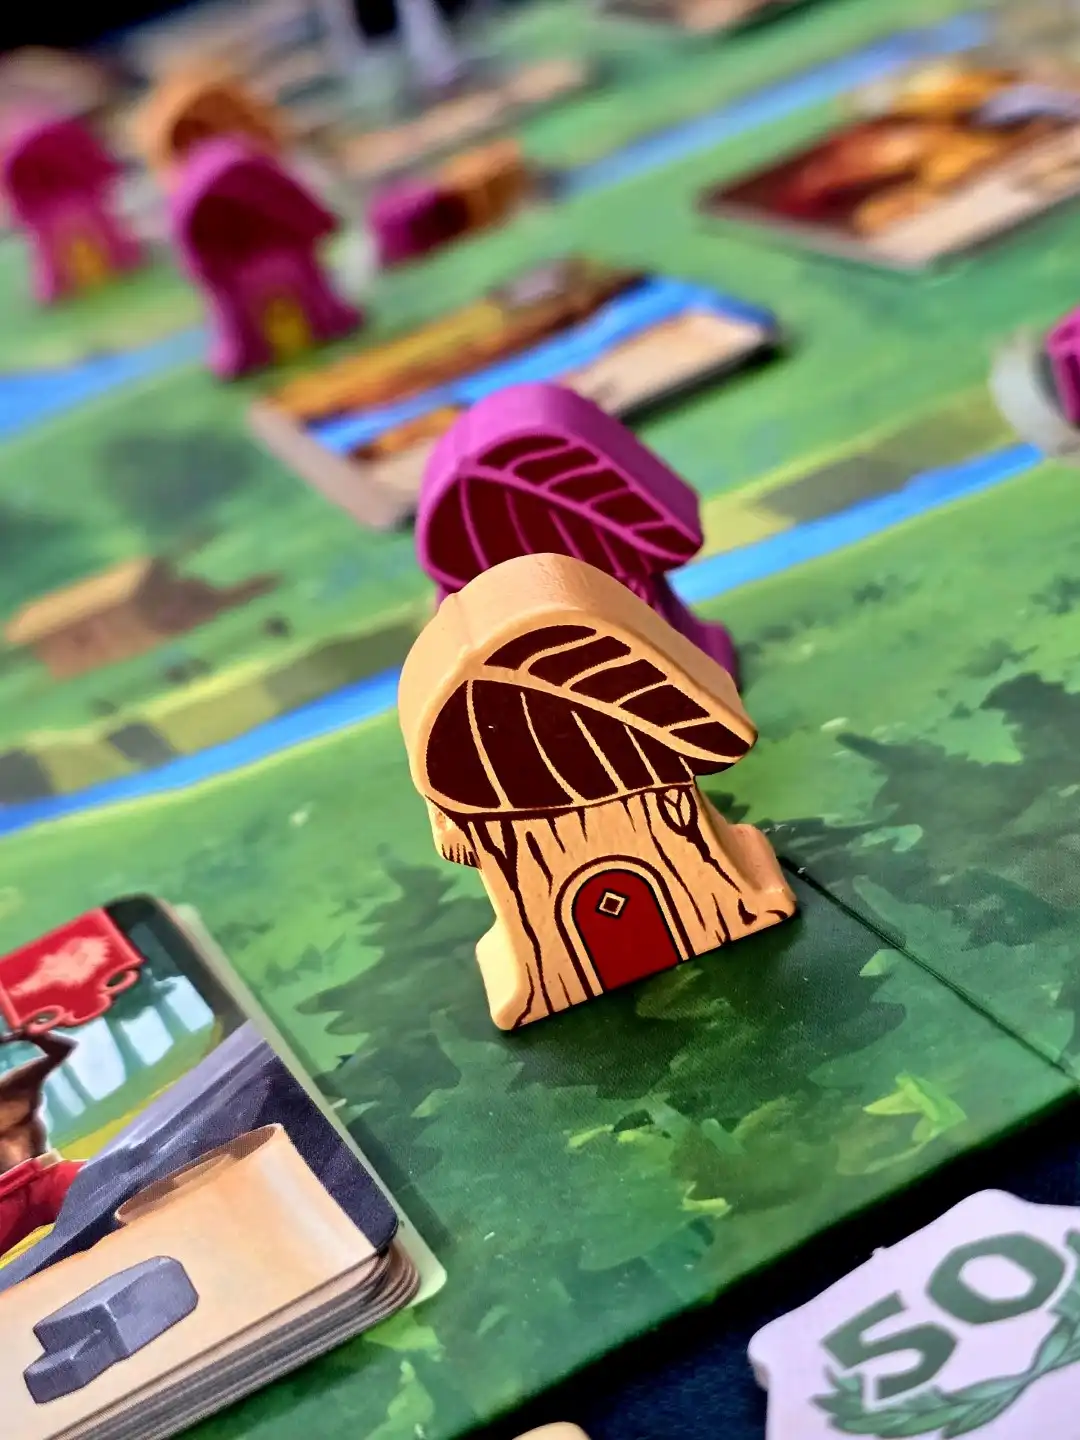
Left: The game has a very pleasant table presence ; Right: Houses gives you extra income if you end your round next to them
Thanks for reading!
Kristof & Reni
A copy of the game was kindly provided by the publisher. Read our content policy.